TGX Setup
Spark uses the industry-leading Mechdyne TGX Client as it's VDIA Virtual Desktop Infrastructure (VDI) enables users to securely access high-performance remote workstations from virtually anywhere with a local-like experience. for ultra-responsive desktop streaming. TGX ensures near-native performance
Installation Guide
While Spark provides a native app for Windows and macOS, Linux users can access Spark through the Spark Web App using the Mechdyne TGX Receiver for a high-performance remote workstation experience.
Select your operating system below for detailed installation steps.
- Linux
- Windows
- macOS
Download the TGX Receiver for Linux from the link below.

System requirements: RHEL 7.8+, CentOS, Rocky, Ubuntu 18+
Follow these steps to prepare and launch the installer via your terminal:
-
Open Terminal:
Open the Terminal window in your system. -
Navigate to Downloads:
Go to the directory where you downloaded the installer:cd ~/Downloads -
Make Installer Executable:
Grant execute permissions to the installer:chmod +x Linux_Latest_TGX_Receiver.bz2.run -
Verify Permissions:
Confirm the file is now executable:ls -l Linux_Latest_TGX_Receiver.bz2.runExpected output:
-rwxr-xr-x. -
Launch Installer:
Run the installer as root (you will be prompted for your password):sudo ./Linux_Latest_TGX_Receiver.bz2.run
Success: The installer UI will launch in your terminal window.
Complete the setup by following the on-screen prompts in your terminal:
-
License Agreement:
Read through the End User License Agreement (EULA).
Select I Accept to proceed.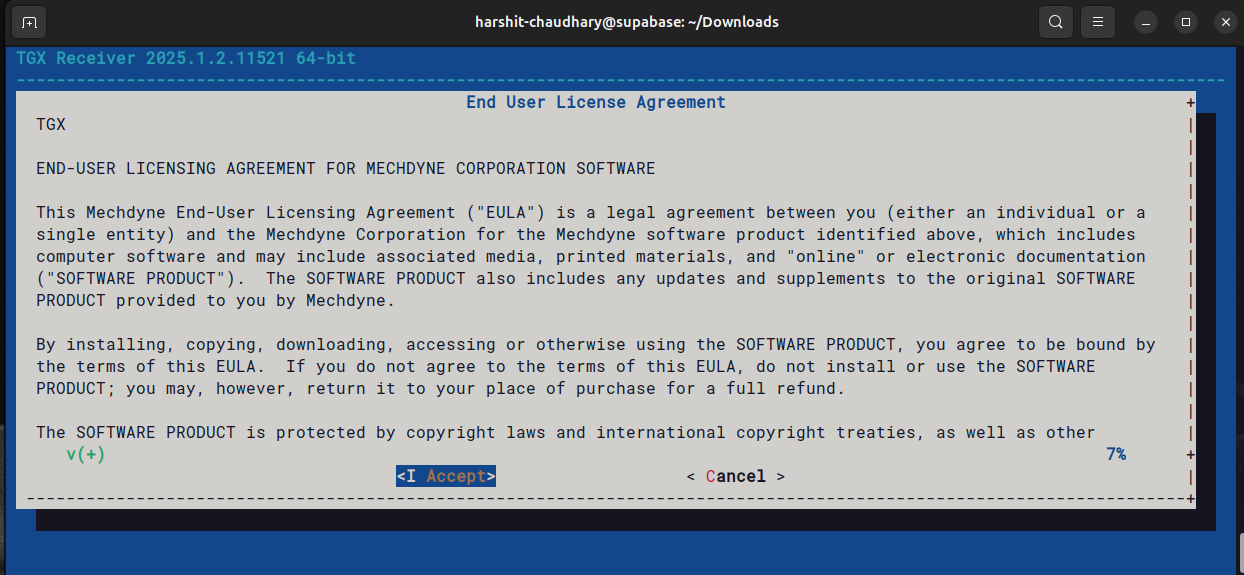
-
Confirm Installation:
Select Yes to install the TGX Receiver.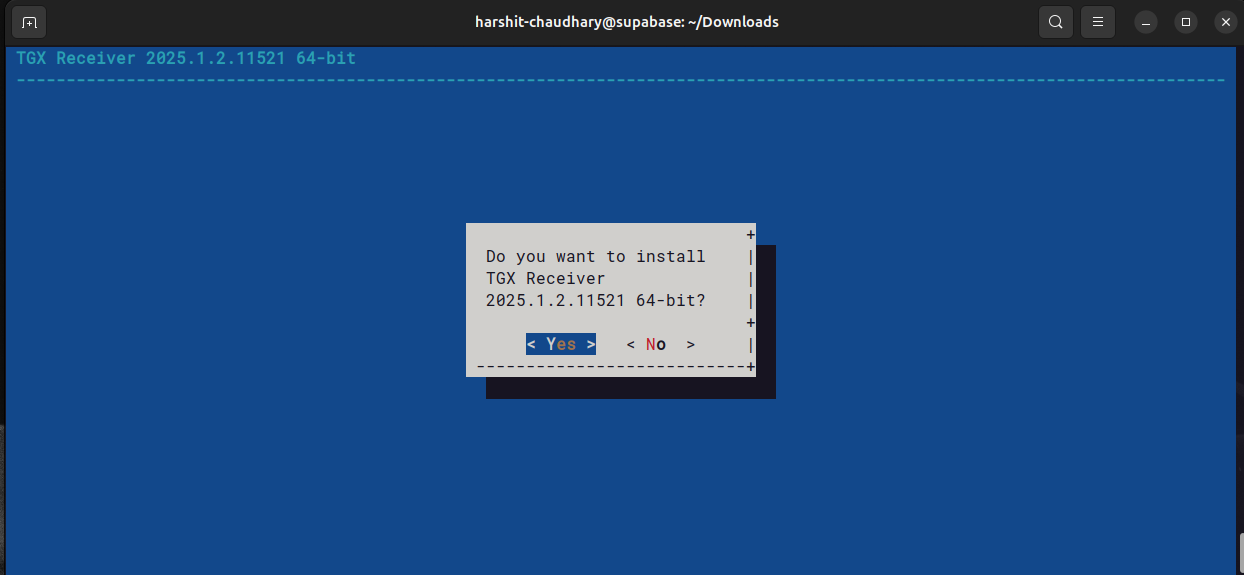
-
File Extraction:
The installer will extract the necessary files to the/opt/mechdyne/TGX/Receiverdirectory.
Select OK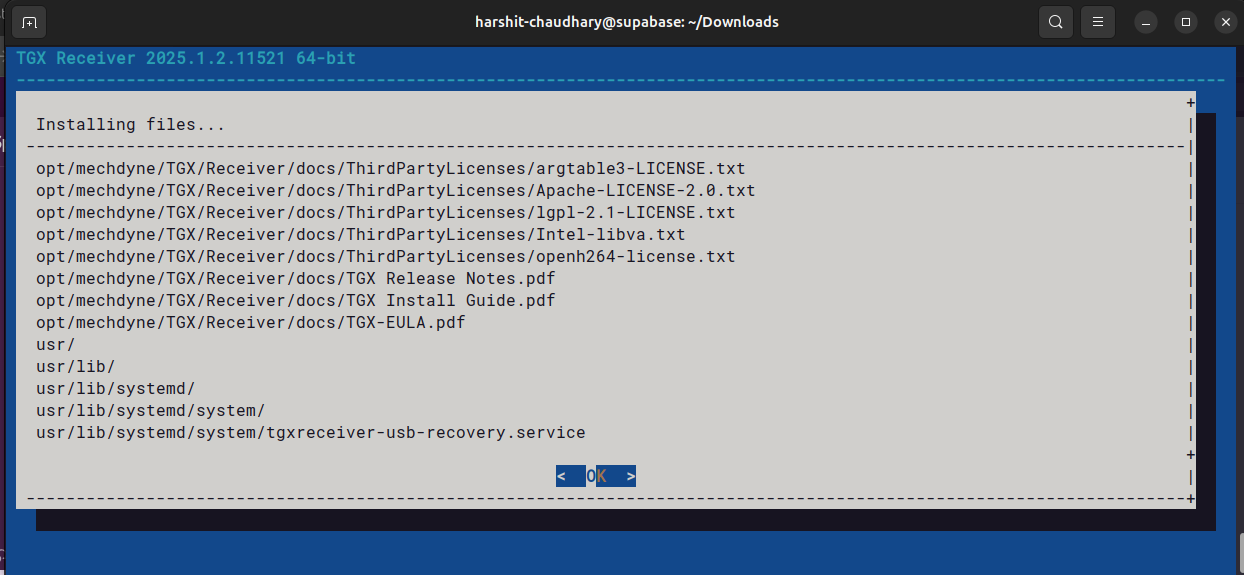
-
Port Configuration:
TGX will specify the base listening port as default to 40001.
Select OK.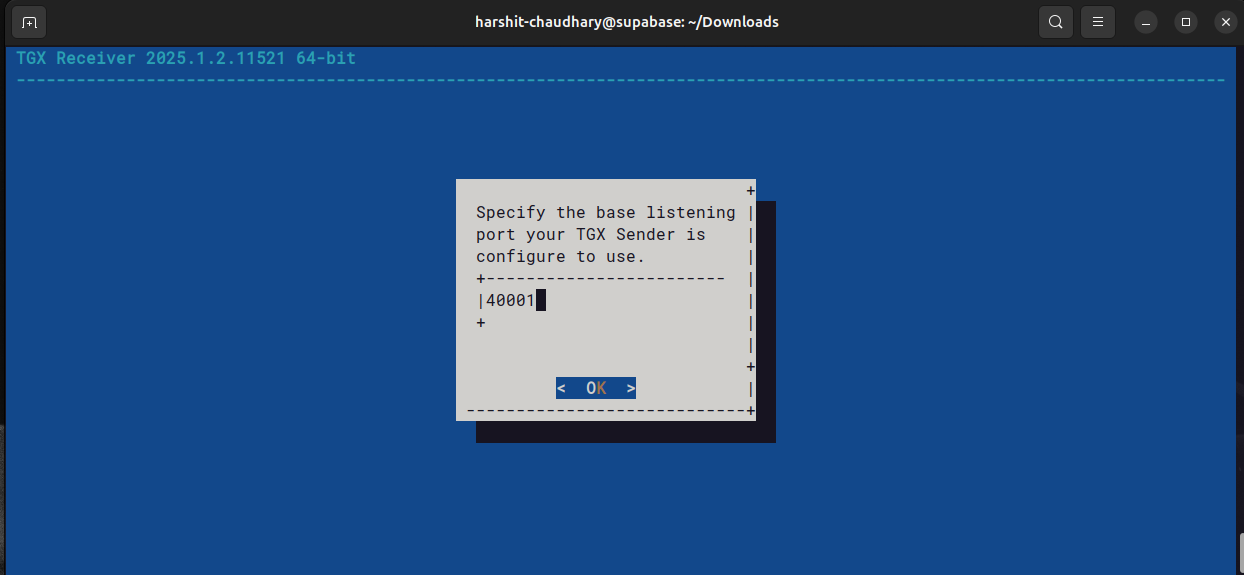
-
USB Redirection:
Select the option that matches your Linux distribution and version.
Select OK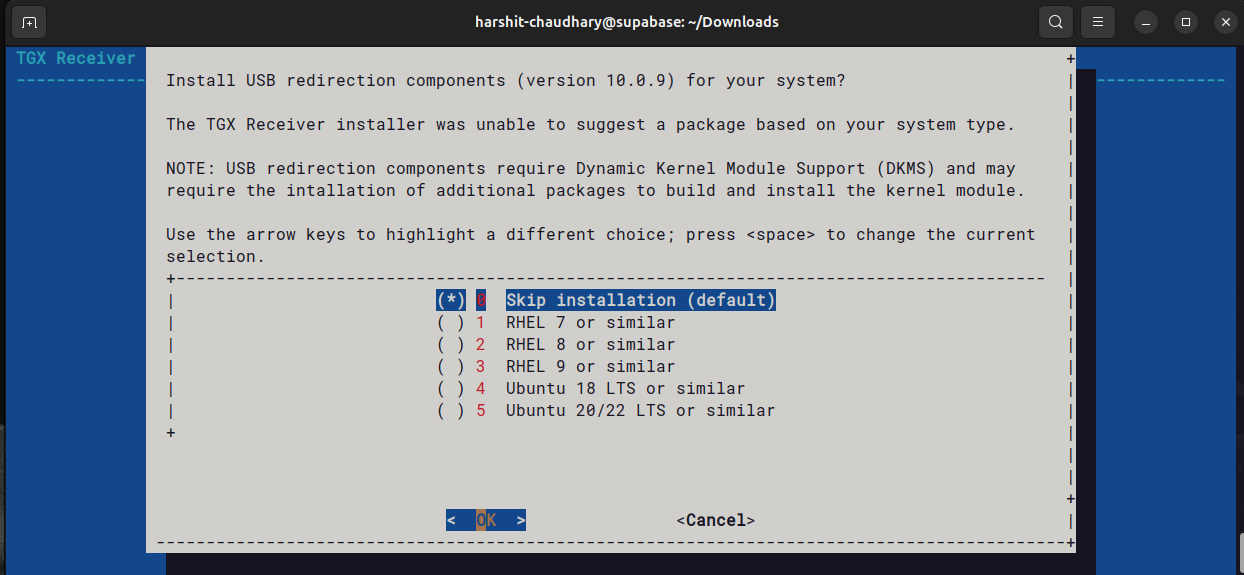
-
USB Warning:
If you skipped USB components, you may see a notification that they were not found.
Select OK to continue.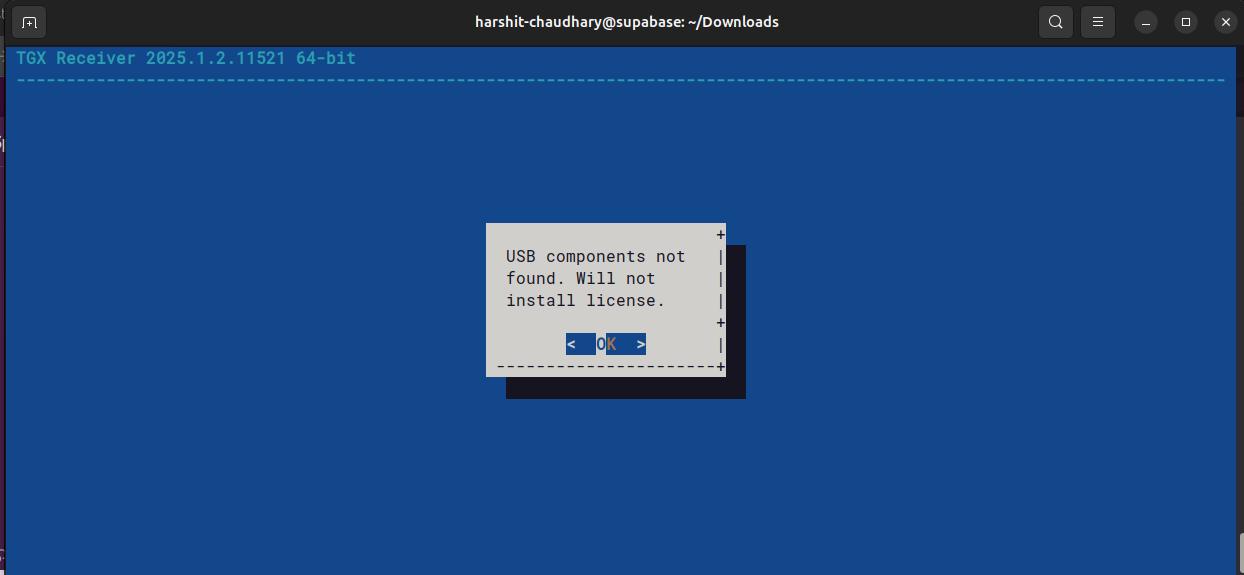
-
Finalize Setup:
The installation process is now complete.
Select OK to exit the installer.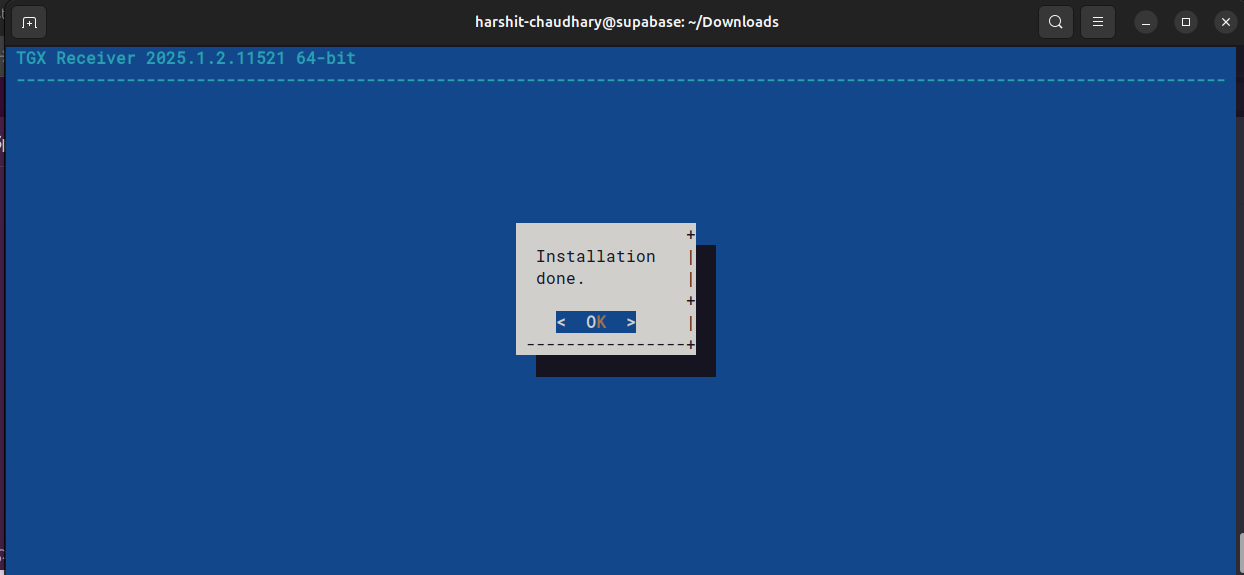
-
Launch TGX:
You can now launch the TGX Receiver from your applications menu.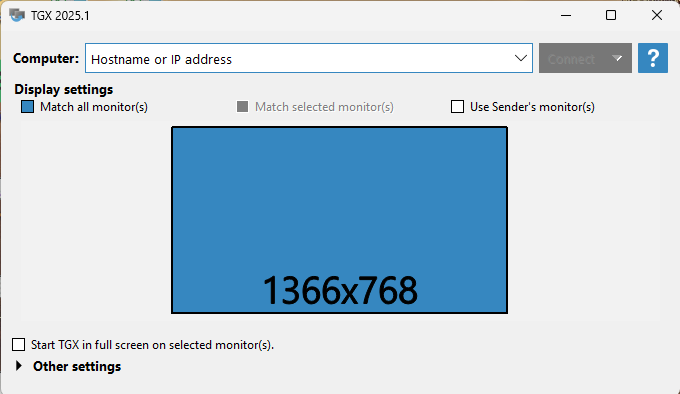
Note: The default connection port for TGX is 40001. Ensure your firewall allows communication on this port for a seamless connection. Learn more about Port 40001 here.
Download the TGX Receiver for Windows (64-bit) from the Spark portal.
System requirements: Windows 8 (64-bit) or later
Follow the steps below to complete the installation:
-
Initialize Setup:
Launch theWindows_Latest_TGX_Receiver.exefile.
On the welcome screen, click Next to begin the installation process.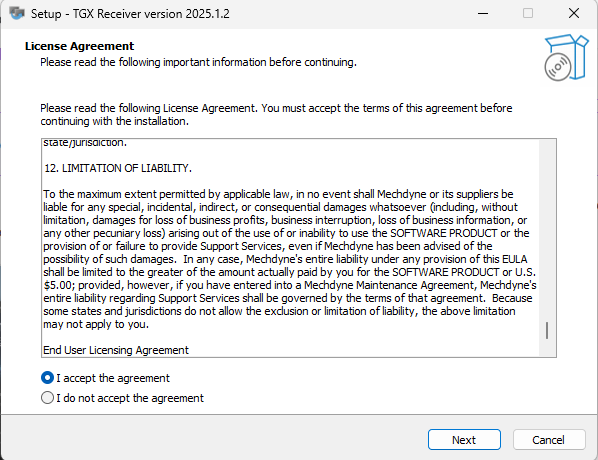
-
License & Prerequisites:
Review the license agreement and ensure all prerequisites are met.
Click Next to proceed.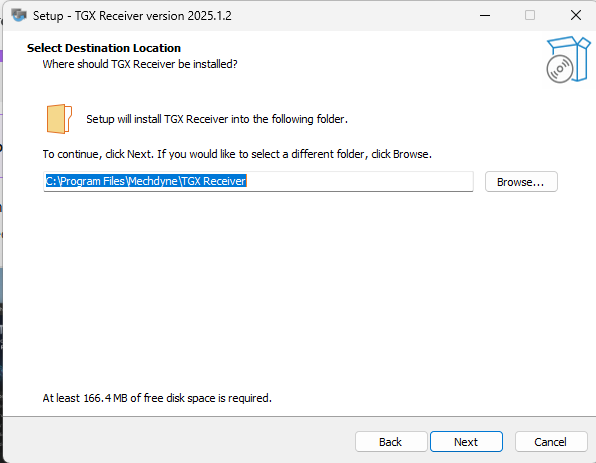
-
USB Component Selection:
Choose whether to install the TGX USB redirection components.
This is recommended if you plan to use specialized USB devices like Wacom tablets.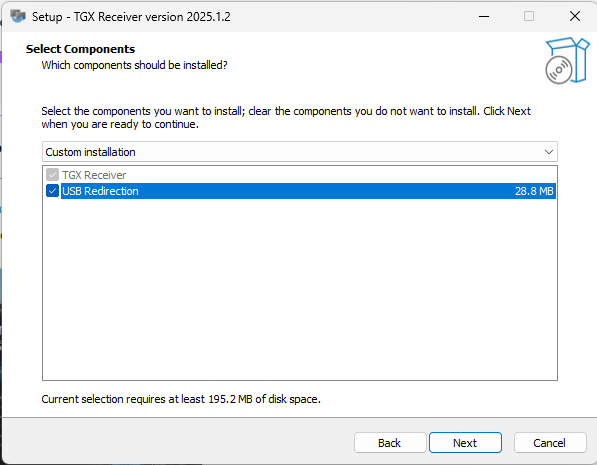
-
Firewall Configuration:
The installer will prompt you to configure Windows Firewall exceptions automatically.
Ensure this is enabled for seamless connectivity.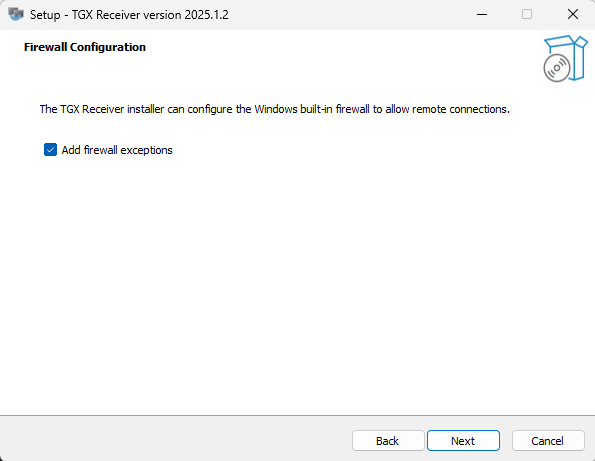
-
Port Assignment:
The communication port is set to 40001 as default.
Click Next to proceed.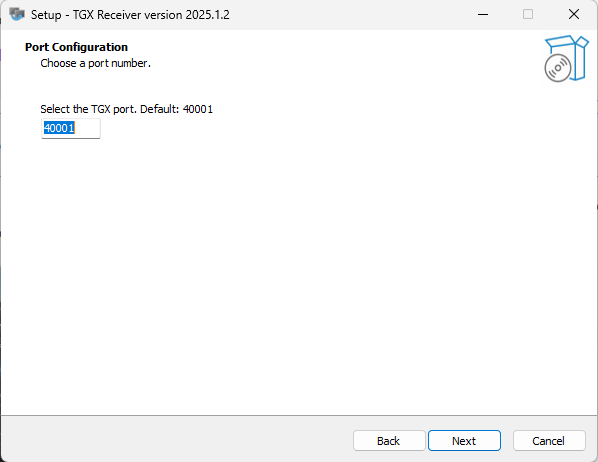
-
Installation Directory:
Select the destination folder where TGX Receiver will be installed.
Click Next to confirm.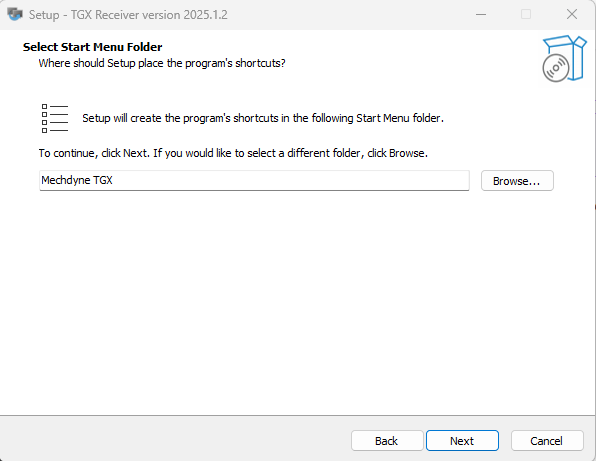
-
Desktop Shortcut:
Choose whether to create a desktop shortcut for quick access to the TGX Receiver.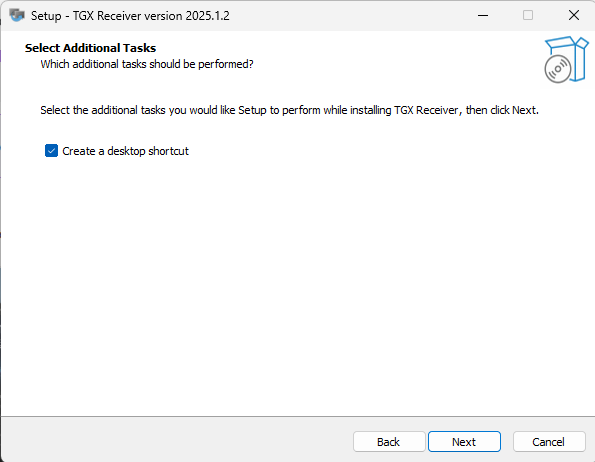
-
Finalize Installation:
Review your settings and click Install to complete the process.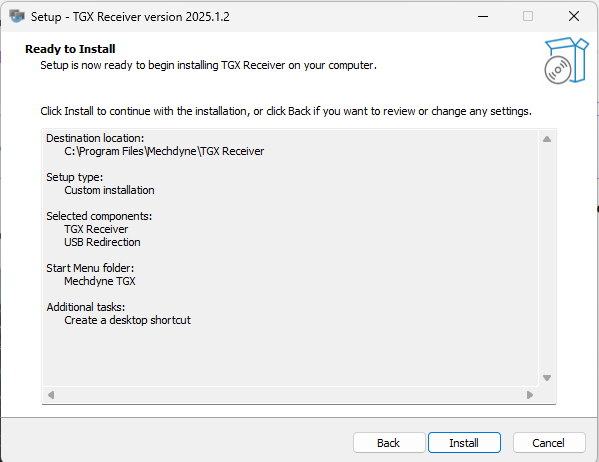
-
Launch TGX:
You can now launch the TGX Receiver.
Note: The default connection port for TGX is 40001. Ensure your firewall allows communication on this port for a seamless connection. Learn more about Port 40001 here.

Sparks are flying back at our workshop!
We’re crafting deeper insights and knowledge on everything at Spark Cloud Studio. Check back soon to see what’s new!